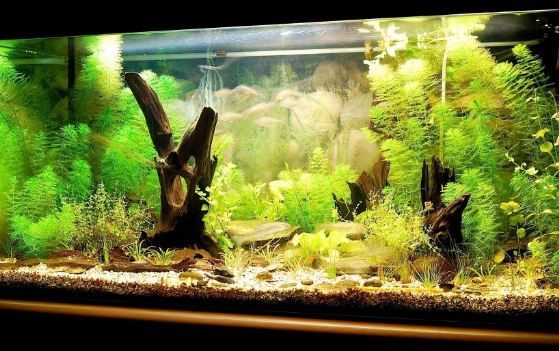
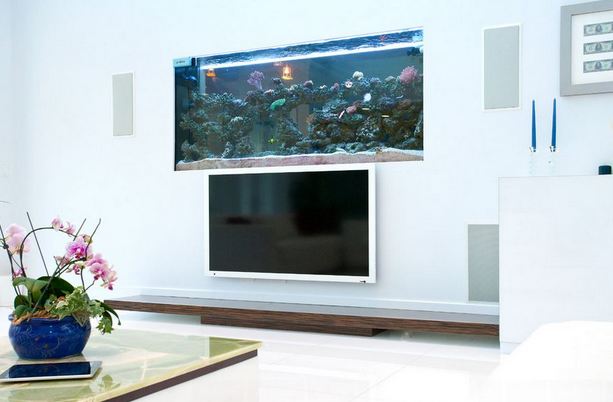
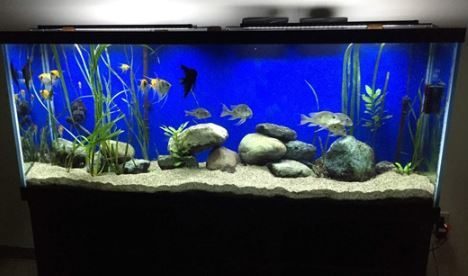
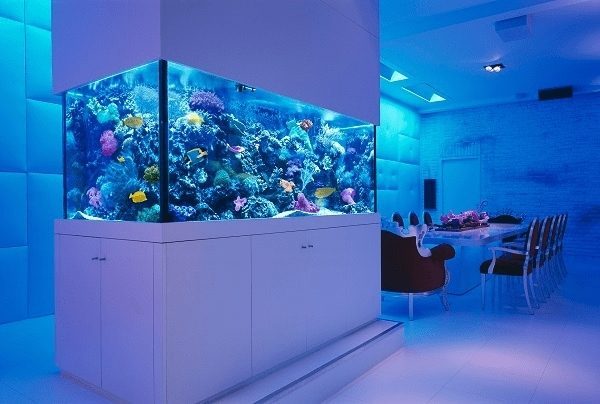
There is nothing more beautiful than a well-made, colorful aquarium well located in the house. Everyone will love it and your home will be a spectacle!
Let’s get the tips:
First of all, the first thing to think about is where the aquarium will be. Plan everything by answering the following questions:
- Where will it be placed?
- What space is available?
- Is there any sturdy support to support it?
After answering and solving these questions, get to work!
How to Make a Home Aquarium – Materials Needed
- Parts of Glass already cut and of the correct thickness (below are thickness values). The pieces are:
- Sides – same size
- Front and back – same size
- Base
- Tampa
- Glass Strips to strengthen
- Silicone seal and Calafate gun
- Many people say that “silicone sealant for aquariums” is the only possible option. Although expensive, this product is a good choice – in part because it lacks anti-mold chemicals that are often found in other sealants (and can be toxic to fish). Common household silicones are also alternatives.
- Scotch tape
- Gloves
- Sandpaper
Choose Glass, Size and Thickness
- Type of Glass
The ordinary glass is suitable for making aquariums.
- Glass Size
The side windows go inside and the front and rear windows go out. The whole set rests on the base crystal. This should be taken into account when calculating the length of the base since the thickness of the front and rear windows must be added to this.
- Thickness
The rule is very simple! The higher the aquarium, the thicker the glass needs to be. Below are the steps of how to make a home aquarium safer using the proper thickness, according to the height you choose.
Aquarium height / Side glass thickness
Up to 30 cm high – between 0.5 and 0.6 cm
From 31 cm to 50 cm tall – between 0.7 and 0.8 cm
From 51 cm to 70 cm tall – between 0.9 and 1.2 cm
Aquarium height / Base glass thickness
Up to 30 cm high – between 0.7 and 0.9 cm
From 31 cm to 50 cm tall – between 1 and 1.2 cm
From 51 cm to 70 cm in height – between 1.3 and 1.5 cm
How to Make an Aquarium at Home – Assembly
On a large table or an open place, place the base on the surface, surrounded by the front, back and sides.
Before applying the silicone, we must lightly sand the edges of the glasses to eliminate the sharp edges.
Remove all impurities from the glass using alcohol. The parts must be thoroughly cleaned to begin assembly.
Raise the glass side pieces and tape them so that they are in the desired shape and do not fall. Use 3 to 4 pieces of adhesive tape on each side until these pieces form a rectangle and are firm.
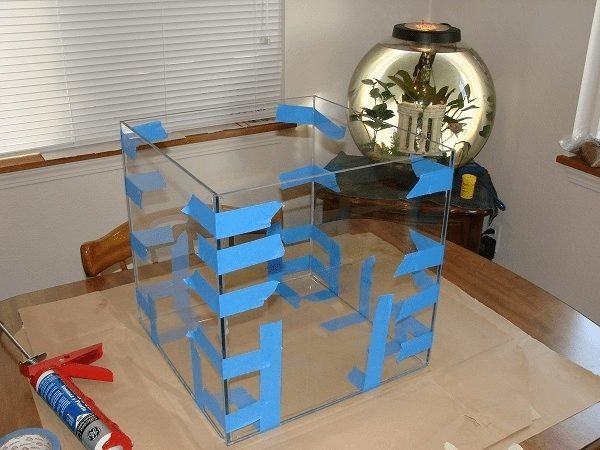
Apply silicone. Begin at the base of the glass by applying a thin, continuous strip of material – about 2 mm away from the tip (you need space to fit the other pieces). This strip should be about 3 mm in diameter.
A continuous bead should be applied with the spray gun and do not leave areas of disunity or air bubbles in the cord, because then a crack would form where a leak would occur. Once the silicone is applied, the glasses should be joined immediately, as the silicone dries fast and loses suppleness.
Continue placing the parts, attaching with adhesive tape and passing the silicone (inside the aquarium) until the aquarium is mounted.
Wait for the silicone to dry completely. This process takes from 24 to 48 hours.
After the drying period, remove the remains of silicone with a razor. Place the styrofoam base under the aquarium and gradually fill it with water, making sure that the glass can withstand the pressure. Keep it full for at least 72 hours and check for leaks. If so, empty the aquarium and dry thoroughly before reapplying the silicone to the site of the leak.
The aquarium can be reinforced from the outside with metal angles (they are 1 mm thick aluminum profiles). Do not use iron or other metal as they oxidize.
In large aquariums (over 50 cm in height), it is important to place reinforcements to avoid the curvature of the glass. This reinforcement is also used to support the lid of the aquarium. All reinforcements should be at least 1 mm slack on each side which should be filled with silicone.
To have an effective reinforcement, glue glass strips on the inside of the aquarium. The distance from the strips to the edge should be approximately 2 to 3 cm.
How to Make an Aquarium at Home – Installing a Filtration System
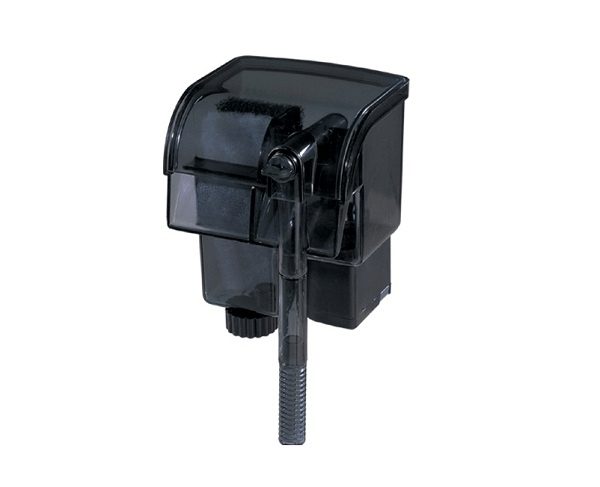
Among the most common options are those that are positioned under gravel or external filters – easily installed in the back of the aquarium.
How to Make a Home Aquarium – Decoration
Now is the time for fun. Decorating and creating a theme for your aquarium is super easy and pleasurable. Leave a few inches of water to help in the time to “accommodate” your decorating items and install the filtration system.
Decoration Suggestions:
Gravel – Most fish and marine animals love gravel. 1 kg is great for an average aquarium. Remember to wash the gravel before using it as it tends to accumulate dust and can muddy the water if it is not washed.
Follow the specific instructions according to the filter packaging. Regardless of your model, do not turn it on until the aquarium is filled with water and ready for use.
Stones – Not all types of stone are suitable for aquariums, as some leave the water more alkaline and others release toxic metal salts. The appropriate stones to use in your aquarium are Andesite, Basalt, Fluorite, Granite, Pink and White Quartz, Slate and Round River Stones.
Artificial Plants – They are excellent for giving a natural air to the ecosystem you have set up. Even though they are artificial, they seem to be very realistic. Distribute the plants to your liking (we usually put the larger ones in the bottom, the middle ones in the center and the smaller ones in the front).
Other Decoration Items – Can be embellishments of divers, treasure, wood trunks, etc. Your imagination is the limit!
