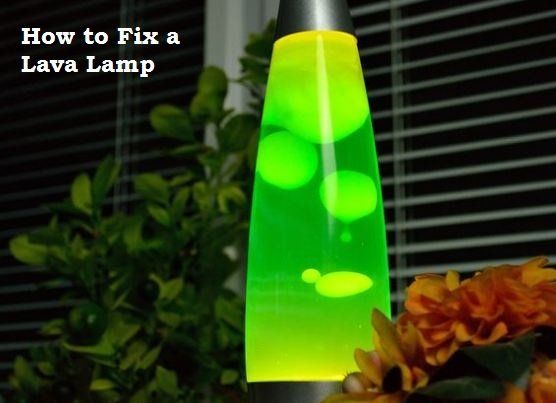
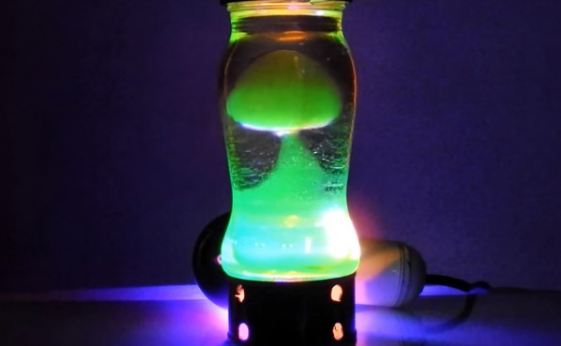
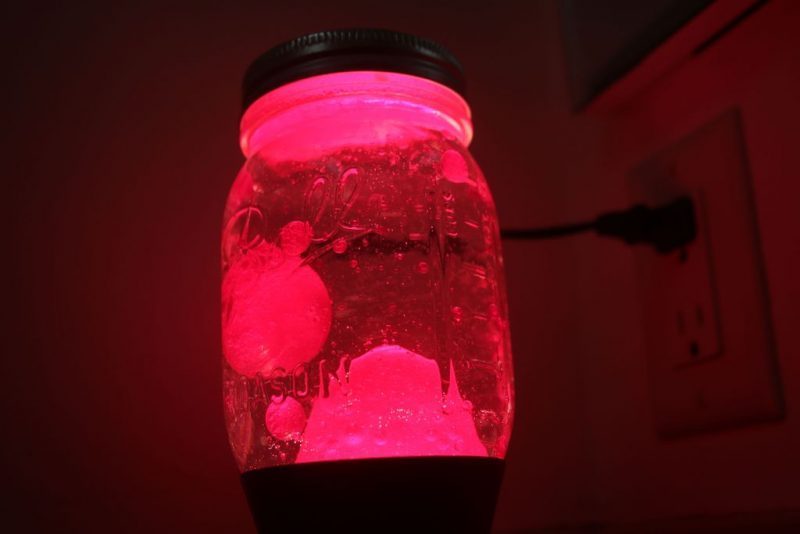
The lava lamp was invented by Edward Craven Walker in the mid-1950s and consisted of a secret combination of oil and wax and some other undisclosed ingredients. Because it is less dense than water, wax expands and floats when heated to a certain temperature. As the wax rises into the liquid center of the lamp, it moves away from the heat source at the base of the lamp and cools, causing it to sink back to the base of the lamp where it is reheated again.
Things You’ll Need
- An empty bottle of whiskey (with screw cap)
- PVC (same diameter as the bottom of the whiskey bottle), cut to 6 inches tall
- Utility knife
- Utility light cord, switch, and socket
- 40-watt bulb
- White candle wax
- Sauce pan
- Tin can
- Wooden spoon
- Glass measuring cup
- Perchloroethylene (also known as a dry cleaning fluid or Perc)
- Wire coat hanger
- Wire cutters
- Needle-nose pliers
- Long tweezers
- Food coloring
- Pickling salt
- Dishwashing liquid
- Safety goggles
- Apron
- Latex gloves
Make the base of the lamp
Remove the label from an empty bottle of whiskey with soap and hot water. Clean the inside of the bottle to remove any traces of alcohol. Put the bottle aside.
Cut a notch from the edge of one side of the cut PVC pipe wide enough to fit the utility lamp cable.
Place the PVC tube so that it sits on the table with the grooved edge facing down. Thread A utility light through the pipe so that the end of the cable with the outlet hangs through the notch at the bottom of the pipe and the end of the socket sits at the table, socket facing up. Insert the lamp. Place the bottle on the right side of the PVC pipe in the lamp.
Make the Ooze lava
Break several white candles into a can. Remove the fuse.
Fill a pan with 3 inches of water and place the can inside the pan so that the water surrounds it. Place the pan over a burner over medium-low heat.
Stir the wax as it melts with a wooden spoon.
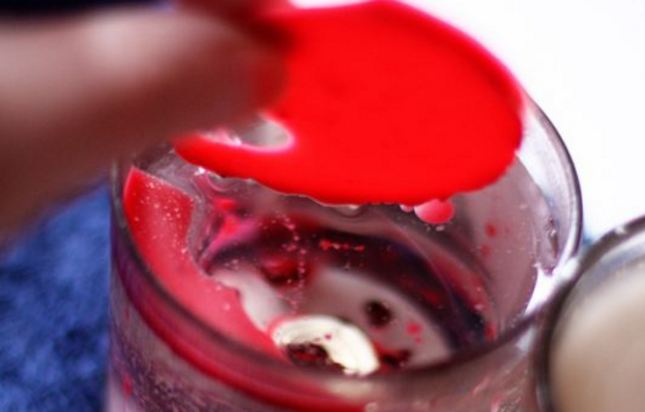
Pour the melted wax into a glass measuring cup until it measures 2/3 cup. If you have extra melted wax, reserve for later use.
Pour the dry cleaning liquid into the measuring cup until the cup liquid measures 1 cup. That is, you are only adding 1/3 cup perC to create 1 cup of lava. Quickly, before it settles, stir the mixture with a wooden spoon continuously for at least 5 minutes.
Put it all together
Remove the wire hanger and wind a spring 1/2 inch long (approximately 1/4 inches in diameter) from the end of the wire using the needle-tipped pliers. Snipel the end of the cable just below the spring with wire cutters.
Use a pair of long-term tweezers to place the spring upwards (so that the coil spirals upwards) at the bottom of the whiskey bottle.
Heat the hot water bottle for about 5 minutes. While the lava is still melted, pour into the empty bottle. If the lava does not melt, place the measuring cup in the pan after removing the tin and slowly heating the mixture until it is lichen. After pouring the lava into the bottle, leave to cool until solidified.
Fill the bottle to the base of the neck with water. Add a few drops of food coloring to dye the water. Add two teaspoons of pickle salt to the water mixture to increase the density and boiling point of the water.
Screw the bottle cap and turn on the service light on the base. Allow the lamp to remain for at least 3 hours for the wax to melt. If the lava does not rise, add a pinch of pickling salt. If the lava rises and refuses to sink, let the lamp cool completely, pour in the water, replenish and use a little less salt.
Tips and warnings
- Secure the plug into the pipe by executing the rubber-coated pipe edges wire around the socket attachment so that the bulb does not oscillate within it.
- If the lava does not mix with other lava stains when floating on top of the bottle, add only a drop the size of a liquid pinhead to wash dishes for water.
- When Perchloroethylene is added to the wax, it expands. Be sure to use your safety equipment when doing the test. Consult a scientist or physician to make sure that you are able to work with these materials before attempting this project.

